How to create or edit custom questions for your document in WaiverSign
Create questions using custom fields to add to your document(s) in WaiverSign. Go to Settings >> Custom Fields to get started.
When creating or editing your document in WaiverSign, you have the option to add custom fields. Instructions on how to do that are as follows:
Create new custom fields
Edit custom fields
Remove custom fields
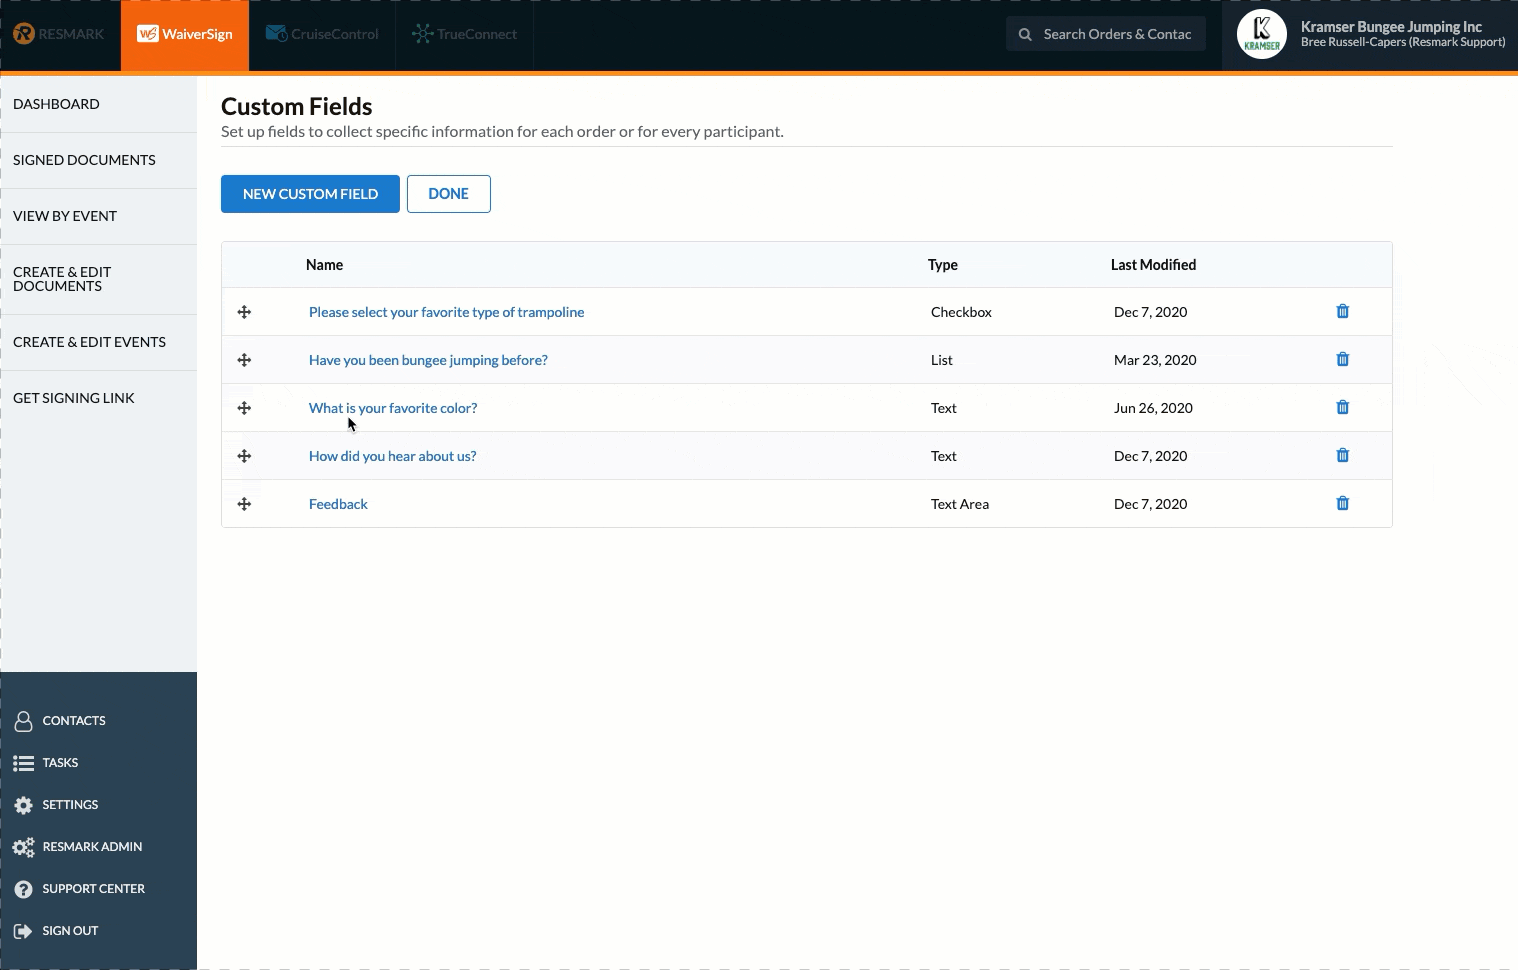
Custom fields can be added while working on a document in the Custom Fields section, or by going to Settings >> Custom Fields
The following field types are available:
Text - Enter a short response.
Text Area - Enter a longer text response.
Checkbox - Choose multiple options from a list.
List - Choose a single option from a list.
Information collected in these fields is NOT encrypted. Please do not ask for sensitive information like social security or credit card numbers.
After adding your questions, go to Create & Edit Documents, select your document, and turn on each custom field. Remember to save and publish your document to update.
Note: Custom fields will appear across all of your documents set to "Do Not Display" by default. Using the dropdown, you can choose if any specific field is "Required", "Optional", or should not be displayed.
Back to top
Go to Settings >> Custom Fields and select the fields you want to edit. Any field you edit will appear that way across all of your documents where it is turned on.
Back to top
Delete at Settings >> Custom Fields by clicking the trash icon next to each field you want to remove.

Warning! Deleting a custom field will remove it from all of your documents. If you just want to remove it from one document, go to Create & Edit Documents >> (Document Name) >> Custom Fields and set the field(s) to "Do Not Display".
Save and publish your document to update.
Back to top
When creating or editing your document in WaiverSign, you have the option to add custom fields. Instructions on how to do that are as follows:
Create new custom fields
Edit custom fields
Remove custom fields
Create new custom fields
Custom fields can be added while working on a document in the Custom Fields section, or by going to Settings >> Custom Fields
The following field types are available:
Text - Enter a short response.
Text Area - Enter a longer text response.
Checkbox - Choose multiple options from a list.
List - Choose a single option from a list.
Information collected in these fields is NOT encrypted. Please do not ask for sensitive information like social security or credit card numbers.
After adding your questions, go to Create & Edit Documents, select your document, and turn on each custom field. Remember to save and publish your document to update.
Note: Custom fields will appear across all of your documents set to "Do Not Display" by default. Using the dropdown, you can choose if any specific field is "Required", "Optional", or should not be displayed.
Back to top
Edit Custom Fields
Go to Settings >> Custom Fields and select the fields you want to edit. Any field you edit will appear that way across all of your documents where it is turned on.
Back to top
Remove Custom Fields
Delete at Settings >> Custom Fields by clicking the trash icon next to each field you want to remove.
Warning! Deleting a custom field will remove it from all of your documents. If you just want to remove it from one document, go to Create & Edit Documents >> (Document Name) >> Custom Fields and set the field(s) to "Do Not Display".
Save and publish your document to update.
Back to top
Updated on: 03/29/2024
Thank you!